
I absolutely adore putting together this Halloween Kid-Friendly Snack Board Recipe because it’s not only a feast for the eyes but also such a delight for the taste buds and little hands alike. I love how it brings fun and festive vibes to any get-together, especially when you want to keep things light, colorful, and exciting for kids. Every snack on the board tells a little spooky story, and the best part is it’s super easy to assemble with wholesome ingredients that everyone can enjoy without fuss.
Why You'll Love This Halloween Kid-Friendly Snack Board Recipe
One of the things I find most charming about this Halloween Kid-Friendly Snack Board Recipe is the playful balance of flavors and textures. From the juicy burst of sweet mini peppers and grapes to the soft marshmallows and creamy peanut butter, each bite offers a little surprise. The clementine pumpkins bring a refreshing citrus note, while the crunchy celery stalks add a nice crisp to contrast the softer items. I think kids will love the way the spooky designs — like ghost-shaped sandwiches and banana faces — bring Halloween to life in a totally approachable way.
Besides being delicious, this recipe is a breeze to whip up. I can throw it together in about an hour, and the fun activities like decorating with chocolate faces or assembling fruit skewers make prepping entertaining too. This snack board is perfect for Halloween parties, classroom treats, or even a special family movie night. What really makes it stand out is how it combines creativity with nutritious ingredients — a win-win for any parent wanting to celebrate the season without the sugar overload or complicated cooking. I can’t wait for you to try it and see how much joy it brings to your own celebration.
Ingredients You'll Need
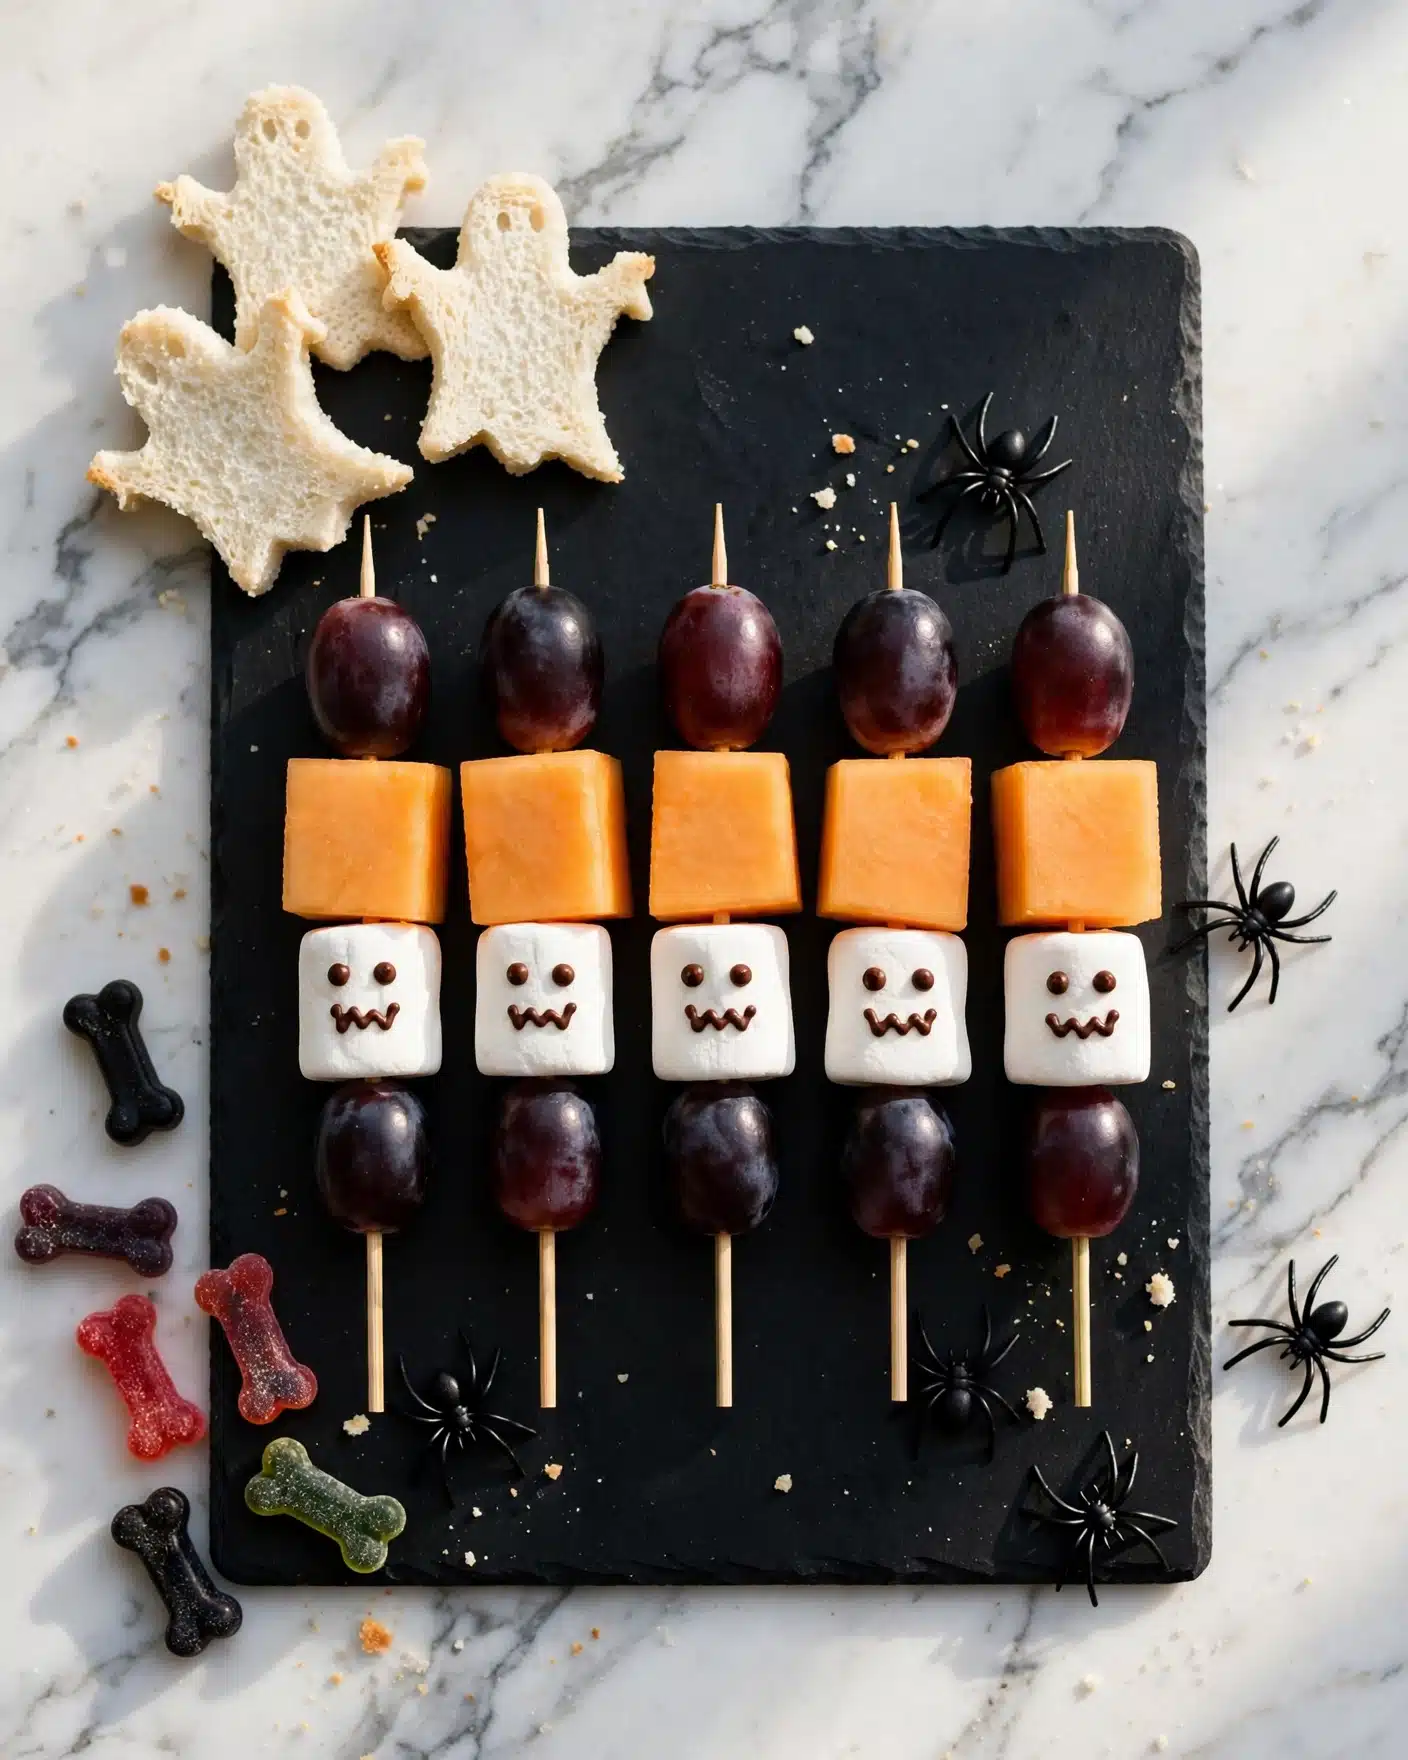
The ingredients for this recipe are simple but essential, each adding a unique pop of color, flavor, or texture that makes the board visually irresistible and tasty. I find that mixing fresh fruit, veggies, sweet treats, and little savory touches creates the perfect variety to keep kids happily snacking.
- Clementines: Perfect for making mini pumpkin shapes with their bright orange color and natural wedges.
- Celery stick: Adds crunch and acts as the pumpkin’s stalk for the clementines.
- Sweet mini peppers: Their shape and color make them ideal for ghostly little characters.
- Icing sugar: Used to create the 'glue' for attaching sugar eyes to the mini peppers.
- Cold water: Helps achieve the right consistency for the icing.
- Edible sugar eyeballs: Adds the spooky factor to the mini pepper ghosts.
- Cantaloupe melon: Cut into cubes for colorful, fresh fruit skewers.
- Black grapes: Provide a sweet juiciness and contrast beautifully with lighter fruits.
- White marshmallows: Used on skewers and for creating fun ghost faces with chocolate.
- Dark chocolate chips: Melted to draw faces on marshmallows and bananas.
- White bread: For ghost-shaped sandwiches filled with a simple choice of filling.
- Simple filling of choice: Keeps the sandwiches tasty but kid-friendly — think cheese, hummus, or soft spreads.
- Black olives: Sliced to make eyes for sandwiches and add a savory note.
- Bananas (not too ripe): For cute banana ghosts decorated with chocolate faces.
- Green or red apples: Slice for 'zombie mouths' with peanut butter and marshmallow teeth.
- Smooth thick peanut butter: The perfect adhesive for mini marshmallow teeth in the apple zombie mouths.
- White mini marshmallows: For building the 'teeth' in zombie apple mouths.
- Orange cheesy crisps: A crunchy, cheesy snack that adds color and flavor contrast.
- Blackberries or blueberries: Small fresh fruits that enhance the board’s color palette and freshness.
- Halloween chocolates or sweets: Optional treats that add a festive touch to the spread.
- Plastic spiders (optional): For decoration to boost the Halloween vibe without adding calories!
Directions
Step 1: Prepare your clementine pumpkins by peeling the clementines carefully. Slice a celery stick lengthwise into four pieces, then cut horizontally into 1 ½ to 2 inch sticks. Insert one celery stick into the center hole of each clementine so it looks like a pumpkin with a stalk. Wrap each pumpkin in clingfilm to keep fresh and chill until you're ready to assemble your board.
Step 2: For the mini sweet pepper ghosts, make your icing by mixing icing sugar with cold water until smooth and thick. Spoon the icing into a piping bag, snip off the tip to create a small hole, and pipe two dots on each mini pepper where you'd like to place the sugar eyes. Chill these peppers on a plate in the fridge for 10 minutes to let the icing set.
Step 3: Remove the peppers from the fridge and carefully stick edible sugar eyeballs onto the icing dots, taking care not to smudge the black pupils. Return to the fridge until needed.
Step 4: Prepare fruit and marshmallow skewers by cutting cantaloupe melon into roughly one-inch cubes, peeling and slicing grapes, and gathering white marshmallows. Thread melon, grape, marshmallow, and repeat onto skewers in a fun alternating pattern.
Step 5: Melt dark chocolate chips in the microwave by heating in 10-second bursts, stirring between each until smooth. Transfer the melted chocolate into a piping bag and snip the tip narrowly. Draw fun, spooky faces onto marshmallows on the skewers. Let the chocolate set, then cover your skewers with clingfilm or store in an airtight container in the fridge.
Step 6: Make ghost sandwiches by preparing simple sandwiches with your preferred filling. Use a ghost-shaped cookie cutter to cut ghosts out of the sandwiches. Keep them fresh by storing in an airtight container in the fridge.
Step 7: Slice black olives for the ghost sandwich eyes. Dry them on paper towels if necessary, then keep them chilled separately until you are ready to decorate the sandwiches on the board.
Step 8: For banana ghosts, peel bananas and cut them into 2 ½ to 3 inch segments. Use melted chocolate in a piping bag to draw ghostly faces on banana slices. Let them set while you prepare the other items.
Step 9: Create zombie apple mouths by slicing apples into 1 cm thick slices. Spread peanut butter on the inner side of one apple slice, clean edges with a paper towel, and place 5-6 mini marshmallows along the peanut butter edge to form teeth. Top with another apple slice peanut butter side down, pressing gently to hold everything together.
Step 10: Finally, arrange all the components on a rectangular board. Lay out the clementine pumpkins, mini pepper ghosts, fruit skewers, ghost sandwiches topped with olive eyes, banana ghosts, zombie apple mouths, and scatter orange cheesy crisps, blackberries or blueberries, and Halloween chocolates throughout. Add plastic spiders last if using for an extra spooky touch.
Servings and Timing
This Halloween Kid-Friendly Snack Board Recipe makes about 4 servings, perfect for a small group of eager little trick-or-treaters or a cozy family gathering. The prep time is roughly 45 minutes, with an additional 10 to 15 minutes for chilling and decorating various components. There is no actual cooking involved, so the total time is about 1 hour from start to finish. Just be sure to chill items like the clementine pumpkins and decorated mini peppers while you prepare other parts to keep everything fresh and vibrant.
How to Serve This Halloween Kid-Friendly Snack Board Recipe
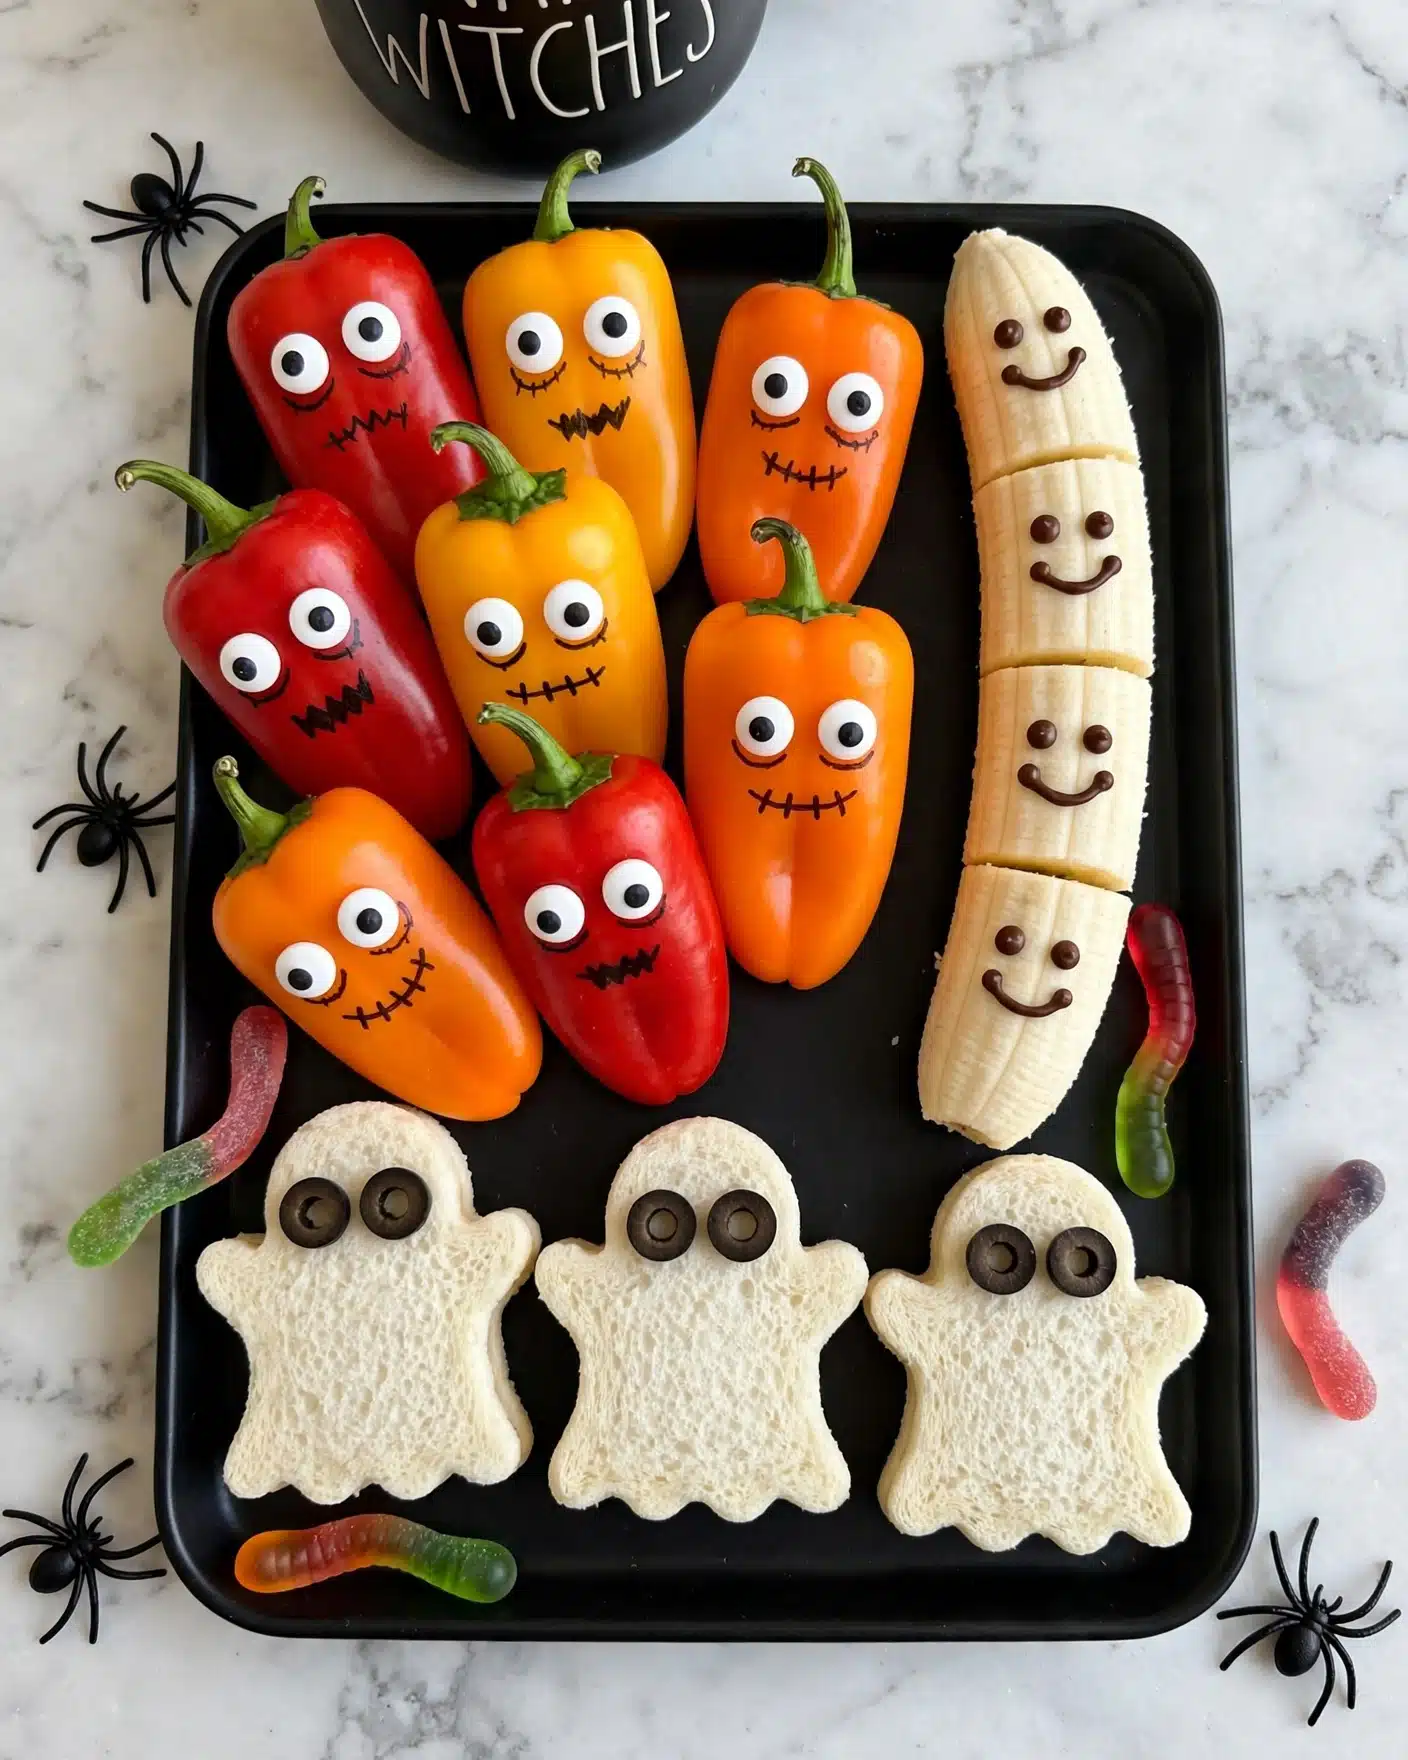
I love serving this Halloween Kid-Friendly Snack Board Recipe chilled or at room temperature since the fresh fruits and crisp vegetables taste best that way. I usually set it out for snack time or as a light, festive appetizer before dinner. The different textures and colors make it irresistible, so I recommend cutting the snack board into small portions or individual skewers so kids can easily grab and enjoy without any mess. You can even provide small paper plates and napkins nearby to keep things neat.
Presentation really adds to the fun, so I like to arrange items neatly but playfully on a large rectangular or wooden board, grouping similar colors and characters together. Garnishing with fresh berries and orange cheesy crisps adds vibrant pops of color. Adding a few plastic spiders or Halloween-themed picks brings the spooky spirit without being scary. It’s perfect for family nights, classroom parties, or neighborhood Halloween gatherings.
For drinks, I often pair the snack board with chilled fruit juices, sparkling water with a splash of citrus, or a warm herbal tea that complements the fresh and lightly sweetened flavors. Since this snack board is so versatile, it shines best served alongside other simple finger foods or even as a light meal on its own. You can make it the star of a Halloween party or a casual, festive snack time with kids, and everyone always leaves with a smile.
Variations
One of the fun things I love about this Halloween Kid-Friendly Snack Board Recipe is how easy it is to customize for different tastes and dietary needs. For example, if you or your little ones prefer vegan options, you can swap out the marshmallows for vegan marshmallows or fresh fruit chunks. You could also replace peanut butter with almond butter or sunflower seed butter for nut-free alternatives. Instead of white bread for ghost sandwiches, gluten-free bread works wonderfully and keeps everyone happy.
You could take the spooky theme even further by incorporating different fruits and veggies according to what you have on hand or what’s in season. Using watermelon instead of cantaloupe or strawberries for brighter reds is an easy twist. If you want more protein, adding cheese cubes or hummus dip on the side works beautifully. Cooking-wise, while there’s no real cooking here, you can try roasting some of the mini peppers for a smoky flavor or lightly toasting the bread for a crunchy sandwich base.
If you prefer to avoid chocolate, fruit purees or colored yogurt can be piped on to create faces and cute designs. I also like experimenting with natural food coloring in icing to make ghost eyes or mouths more colorful and whimsical. The variations are endless, and I encourage you to make this Halloween Kid-Friendly Snack Board Recipe your own little creation, tailored to your family’s preferences and creativity.
Storage and Reheating
Storing Leftovers
Because most of the ingredients are fresh fruits, veggies, and light spreads, I recommend storing any leftovers in airtight containers in the refrigerator. Use sturdy containers with lids to prevent the snacks from drying out or absorbing other fridge odors. I find it best to separate more delicate items like banana ghosts and decorated marshmallows from the rest to keep their shapes intact. Ideally, enjoy leftovers within 1-2 days for best freshness and flavor, as fruits like apples and bananas tend to brown and soften over time.
Freezing
This Halloween Kid-Friendly Snack Board Recipe doesn’t freeze very well due to the fresh fruits and delicate decorations. Freezing would negatively affect the texture of the fruits and the decorations on the marshmallows or bananas, making them mushy or unappealing when thawed. I would not recommend freezing the assembled snack board or its components. Instead, prepare fresh before serving to ensure the best experience for your little guests.
Reheating
Since this is a cold or room-temperature snack board, no reheating is necessary. I recommend serving everything chilled or at room temperature to preserve the crispness of the celery and peppers and the freshness of the fruits. If any sandwiches or similar items need freshening up, simply allow them to sit at room temperature for a few minutes before serving. Avoid microwaving or heating these snacks to maintain the intended textures and flavors.
FAQs
Can I prepare this Halloween Kid-Friendly Snack Board Recipe ahead of time?
Absolutely! Many components, like the clementine pumpkins, mini pepper ghosts, and ghost sandwiches, can be prepared a few hours ahead and stored in the refrigerator. However, I recommend waiting to decorate the banana ghosts and assemble the zombie apple mouths close to serving time to prevent browning.
What are some allergy-friendly substitutes?
If you’re dealing with nut allergies, swap peanut butter for seed butter like sunflower or pumpkin seed butter. Use vegan marshmallows if needed, and choose gluten-free bread for sandwiches. This recipe is versatile enough to accommodate common allergies with simple adjustments.
How can I make the snack board more filling?
If you want to add more substance, consider adding cheese cubes, hummus with veggie sticks, or small hard-boiled eggs to the board. Adding a little protein balances the fruit and sweets while keeping the snack kid-friendly and nutritious.
Can I use other fruits instead of the ones listed?
Definitely! Seasonal fruits like strawberries, kiwi, or pears make great alternatives. The key is to choose fruits that hold up well on a board and can be safely skewered or cut into bite-sized pieces.
How do I prevent the banana ghosts from turning brown?
To slow browning, keep the banana ghosts wrapped tightly in clingfilm and store them in a cool spot or refrigerator until ready to serve. You can also lightly brush banana slices with lemon juice, but since the chocolate decorations might be affected, timing your prep close to serving works best.
Conclusion
I hope you’re as excited as I am to try this Halloween Kid-Friendly Snack Board Recipe! It’s such a joyful way to celebrate the season, mixing creativity, fun, and wholesome ingredients into a snack that kids truly love. Whether you’re hosting a spooky party or just want to add a festive touch to snack time, this board is sure to bring smiles and delighted tastes all around. Give it a go and watch the magic happen!
PrintHalloween Kid-Friendly Snack Board Recipe
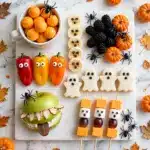
Create a fun and spooky Halloween Snack Board perfect for kids, featuring adorable clementine pumpkins, mini sweet pepper ghosts, fruit and marshmallow skewers, ghost-shaped sandwiches, banana ghosts, and zombie apple mouths. This no-cook, visually exciting snack board is easy to assemble and perfect for a Halloween party or festive celebration.
- Prep Time: 45 minutes
- Cook Time: 0 minutes
- Total Time: 1 hour
- Yield: 4 servings
- Category: Snacks
- Method: No-Cook
- Cuisine: American
Ingredients
Fruits & Vegetables
- A few clementines
- 1 celery stick
- Pack of sweet mini peppers
- Cantaloupe melon, half
- Black grapes
- Black olives
- 1-2 green or red apples
- Bananas (not too ripe)
- Blackberries or blueberries (optional decoration)
Sweet Ingredients
- 70 g icing sugar (½ cup)
- 2 ½ teaspoons cold water
- Edible sugar eyeballs
- White marshmallows
- White mini marshmallows
- Dark chocolate chips
- Halloween chocolates or sweets (for decoration)
Breads & Spreads
- White bread
- Simple filling of choice (e.g., cheese, ham)
- Smooth thick peanut butter (not oily and runny)
Snacks & Extras
- Orange cheesy crisps
- Plastic spiders (for decoration only, optional)
Instructions
- Clementine Pumpkins: Peel the clementines and slice the celery stick lengthways into 4 thin sticks, then cut into 1.5 to 2 inch pieces. Push a celery stick piece into the hole at the top of each peeled clementine to resemble a pumpkin stalk. Wrap with clingfilm and chill until ready to serve.
- Mini Sweet Pepper Ghosts: Mix icing sugar and cold water in a small bowl until smooth and thick. Spoon icing into a piping bag and snip a small tip. Place mini peppers flat side up on a plate, pipe two dots of icing where eyes should go, then chill for 10 minutes to set. Attach edible sugar eyeballs onto icing dots carefully, avoiding smudging. Chill again until serving.
- Fruit & Marshmallow Skewers: Cut cantaloupe melon into 1-inch cubes after removing seeds and peeling. Alternate threading melon cubes, black grapes, and white marshmallows onto skewers. Melt dark chocolate chips in 10-second intervals in microwave, stirring between bursts. Pipe faces onto marshmallows using melted chocolate and let set. Cover and chill until serving.
- Sandwich Ghosts: Prepare simple sandwiches with chosen filling. Use a ghost-shaped cutter to cut sandwiches neatly. Place in airtight container and refrigerate. Slice black olives thinly for eyes, dry on paper towels if needed, then add to sandwiches right before serving.
- Banana Ghosts: Peel bananas and cut into 2.5 to 3 inch pieces just before assembling the board to prevent browning. Melt dark chocolate chips, pipe ghost faces onto banana pieces with melted chocolate, and allow chocolate to set.
- Zombie Apple Mouths: Slice apples into roughly 1 cm thick slices. Spread peanut butter on one side of each slice, then arrange 5-6 mini marshmallows on top. Place another apple slice peanut butter side down atop the marshmallows, gently pressing to secure as 'teeth'. Clean edges with a paper towel to tidy up. Make just before assembling the board to avoid browning.
- Compile the Board: Arrange all prepared elements neatly on a rectangular board, using the spider decorations last if desired. Include additional fruits like blackberries or blueberries, orange cheesy crisps, and Halloween chocolates to fill space and add variety for a festive and colorful presentation.
Notes
- Make banana ghosts and zombie apple mouths last to prevent browning.
- Use clingfilm to keep prepared items fresh until assembly.
- Keep your hands dry when handling icing and sugar eyes to avoid smudging.
- Plastic spiders are for decoration only; do not eat.
- Customize sandwich fillings according to preference or dietary needs.
- Store leftovers in airtight containers and refrigerate.


Leave a Reply