
I absolutely love sharing this Candy Corn Layered Cupcakes Recipe with friends and family because it perfectly captures the fun and festive spirit of fall right in my kitchen. These cupcakes are a delightful treat with their vibrant layers of yellow, orange, and white cake that mimic everyone's favorite Halloween candy, candy corn. The light and fluffy texture combined with creamy vanilla frosting makes these the perfect seasonal dessert to brighten any gathering.
Why You'll Love This Candy Corn Layered Cupcakes Recipe
What really makes this Candy Corn Layered Cupcakes Recipe stand out to me is the playful balance of colors and flavors. The subtly sweet vanilla cake layers tinted in the signature candy corn shades not only look stunning but also offer a tender crumb that melts in your mouth. I love how the use of white cake mix keeps the flavor light, allowing the creamy frosting to shine without overwhelming your palate.
Another reason I keep coming back to this recipe is how straightforward it is to prepare. Even though there are three distinct layers, dividing and tinting the batter is so simple and fun, making it a great baking project whether you’re hosting a Halloween party or just want a cheerful dessert to brighten the day. Plus, these cupcakes are incredibly versatile — they’re excellent for family gatherings, classroom parties, or complementing a festive fall meal. It’s a recipe that never fails to bring smiles and compliments.
Ingredients You'll Need
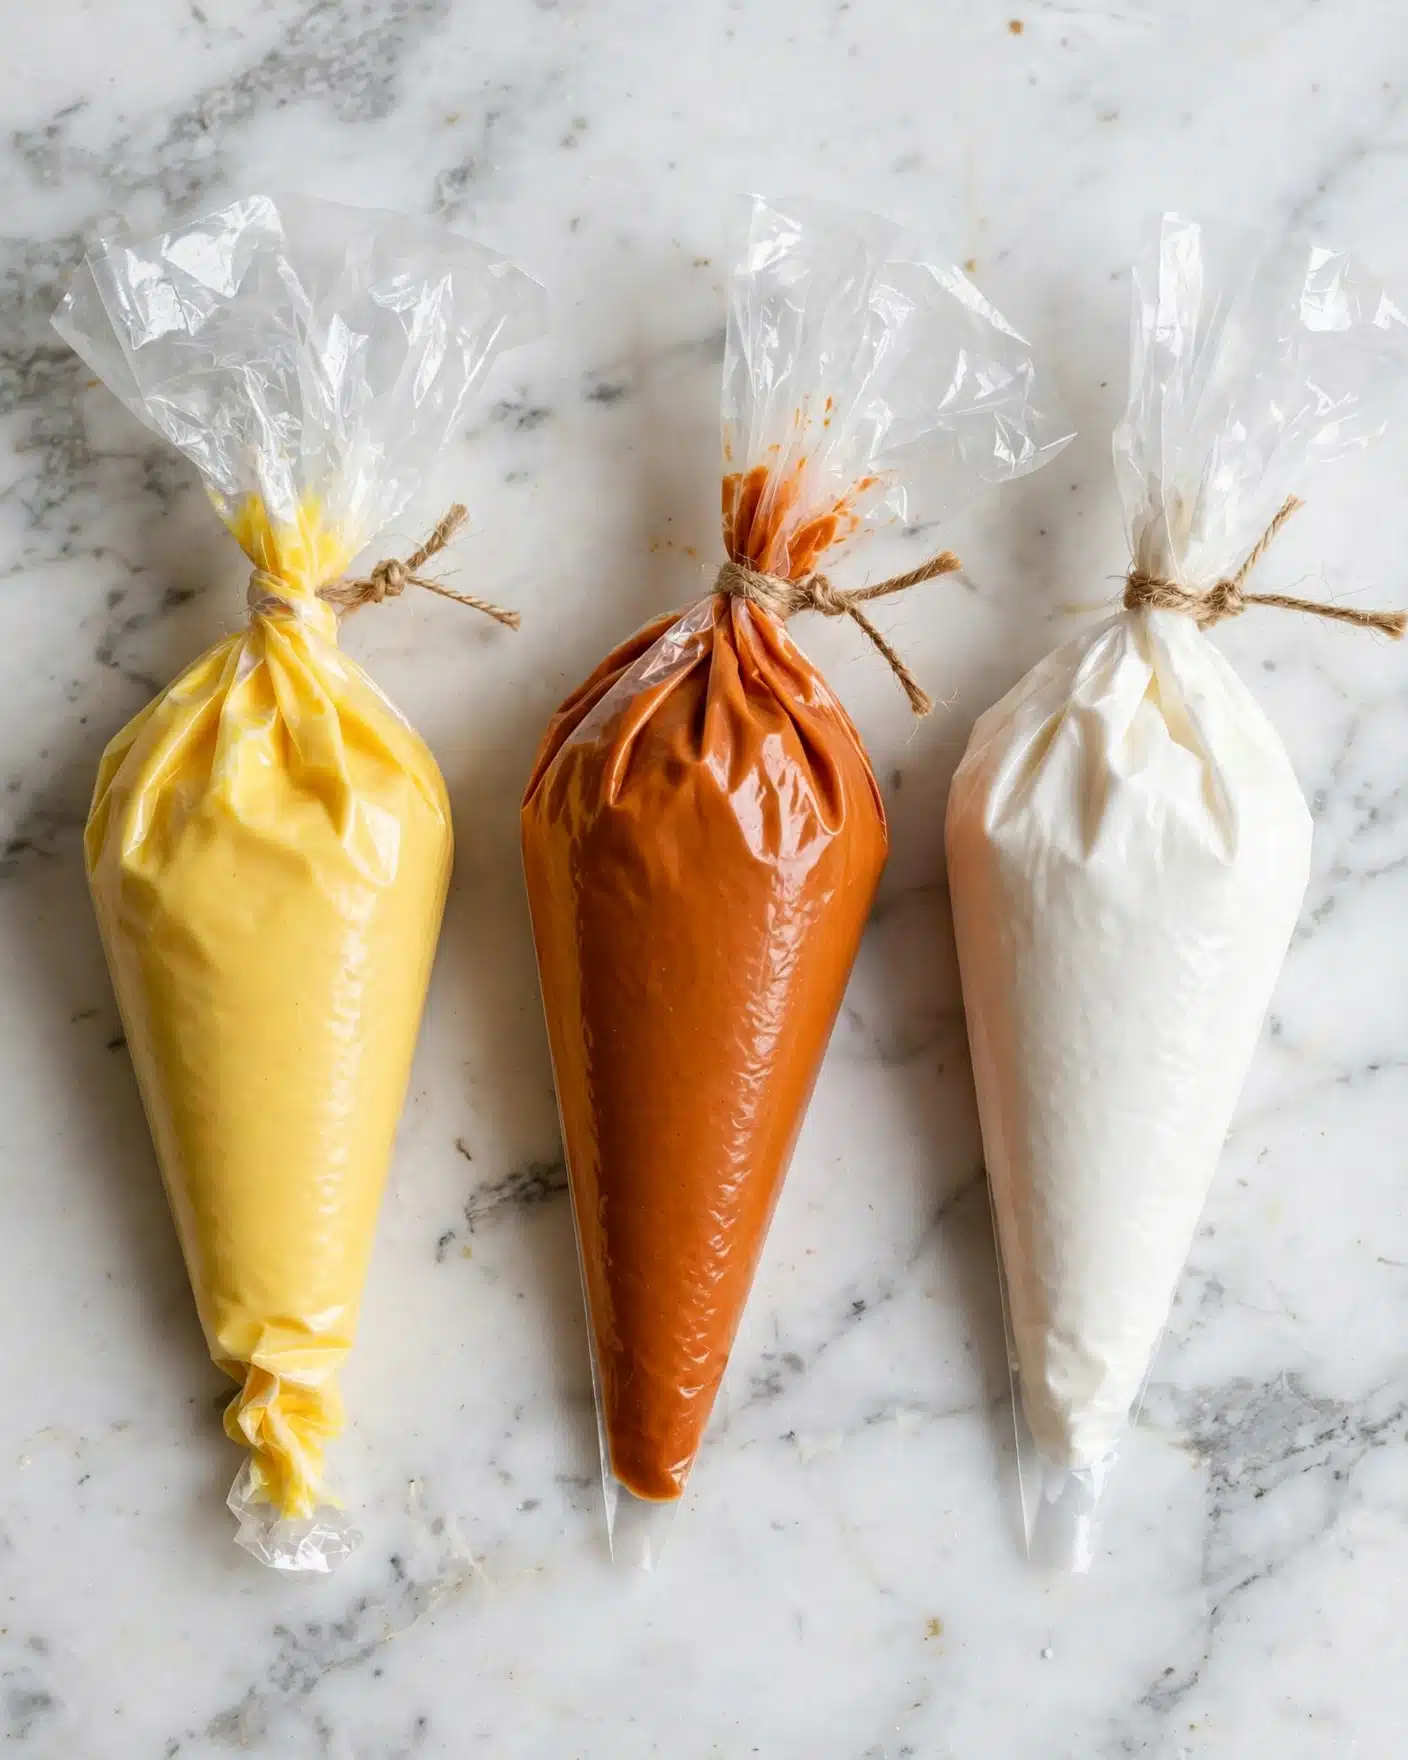
I've kept this recipe simple, using key ingredients that provide the perfect combination of flavor, texture, and that iconic candy corn look. Each item plays an essential role, from the moist white cake mix creating a tender crumb to the gel food coloring providing those vivid layers.
- White premium cake mix: This is the base for our cupcakes, giving a light, fluffy texture that's ideal for layering colors.
- Water and vegetable oil: These liquids keep the cake moist without heaviness.
- Egg whites: Using egg whites instead of whole eggs helps maintain a clean color for the layers.
- Yellow and orange gel food coloring: These create the vibrant and true candy corn hues without watering down the batter.
- White food coloring (optional): A little goes a long way if your cake mix has a yellow tint and you want brighter white layers.
- Vanilla or white frosting: Creamy and smooth, this frosting complements the cake without overpowering it.
- Homemade marshmallow ghosts (optional): A charming decoration that adds whimsy and extra sweetness.
Directions
Step 1: Preheat your oven to 350°F and line 16 wells of a standard muffin pan with paper cupcake liners. This ensures even baking and easy cleanup.
Step 2: Prepare the white cake mix according to the package instructions, using water, vegetable oil, and egg whites. Mix gently until smooth—overmixing can make cupcakes tough, so just combine well.
Step 3: Divide your batter into three portions: two larger bowls with 40% each and a smaller bowl with the remaining 20%. This distribution helps us build the layered effect without wasting any batter.
Step 4: Add yellow gel food coloring to one of the large bowls and stir until the color is even. Repeat with the orange gel food coloring in the other large bowl. Leave the smaller portion white, and if you want, brighten it with a few drops of white food coloring for a crisp look.
Step 5: Fill each cupcake liner first with the yellow batter, about one-third full. Then, carefully spoon the orange batter evenly over the yellow, followed by the white batter on top, filling the liners about two-thirds full in total. Be gentle to keep the layers distinct.
Step 6: Bake for 18 to 22 minutes. You'll know they’re ready when the tops bounce back lightly to the touch and a toothpick inserted in the center comes out clean or with just a few moist crumbs.
Step 7: Let the cupcakes cool in the pan for 5 minutes before transferring them to a wire rack to cool completely. This prevents sogginess and prepares them perfectly for frosting.
Step 8: Once cooled, pipe a swirl of vanilla or white frosting on each cupcake using a large tip for a professional touch.
Step 9: If you want to add an extra festive element, gently place a homemade marshmallow ghost on each frosted cupcake, pressing lightly to secure it. They make the cupcakes not only delicious but irresistibly cute.
Servings and Timing
This Candy Corn Layered Cupcakes Recipe makes 16 cupcakes, perfect for sharing with a big group or saving some for later. The prep time is about 15 minutes, with around 20 minutes baking. Allow an additional 15 to 20 minutes for cooling and frosting, totaling approximately 50 minutes from start to finish. These timings make it easy to fit baking into your day without rushing.
How to Serve This Candy Corn Layered Cupcakes Recipe
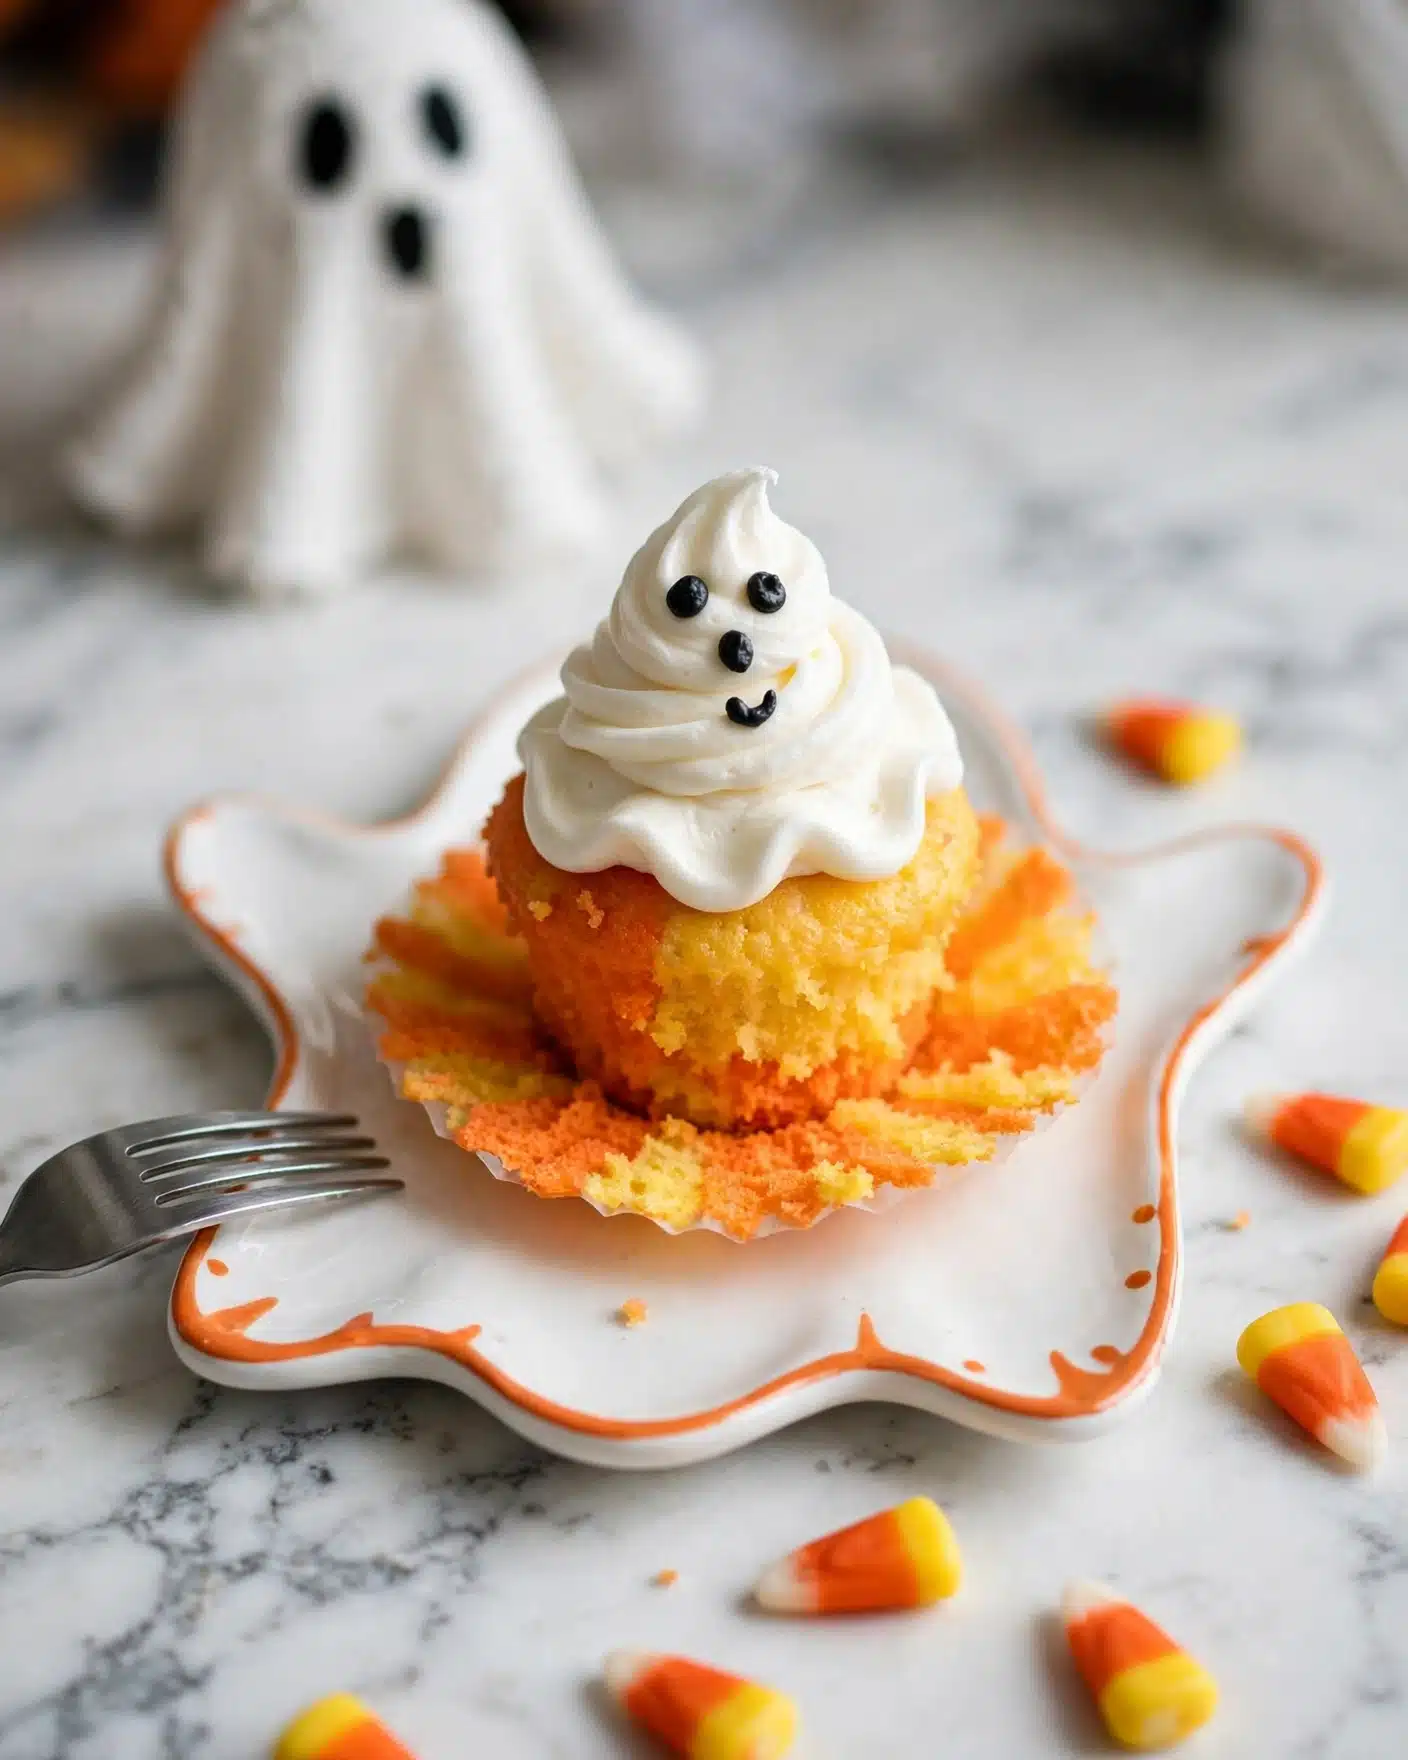
When I serve these cupcakes, I like to keep things simple so the vibrant layers and frosting can truly shine. They pair beautifully with a crisp autumn fruit salad or a light, creamy pumpkin soup if you’re planning a fall themed spread. The cupcakes bring a cheerful burst of color and sweetness that balances savory dishes perfectly.
For presentation, piping the frosting into elegant swirls adds a lovely contrast to the vivid layers inside, and the marshmallow ghost topper is such a fun little touch that always catches everyone’s eye. I recommend serving these at room temperature to enjoy the moist crumb and the smooth frosting at their best. You can plate them on a decorative tiered stand or a brightly colored platter to keep the cheerful vibe alive.
Beverage-wise, I like pairing these cupcakes with sparkling apple cider or a creamy hot chocolate for cozy gatherings, especially during cooler months. They also fit right in at school parties, Halloween celebrations, or family dinners where you want a dessert that’s as joyful as it is delicious.
Variations
I enjoy customizing this Candy Corn Layered Cupcakes Recipe to suit different tastes and dietary needs. For example, if you want to go gluten-free, simply swap the cake mix for a high-quality gluten-free white cake mix—just make sure it’s one that yields a similar texture. For vegan adaptations, use a vegan white cake mix and substitute egg whites with aquafaba, which whips up similarly and helps keep the layers light and fluffy.
If you want to switch things up with flavors, adding a bit of vanilla bean paste or almond extract to the batter can elevate the cupcakes nicely. You could also experiment with cream cheese frosting instead of vanilla for a tangy twist that pairs beautifully with the sweet cake layers. Another fun idea I’ve tried is adding a subtle cinnamon or pumpkin spice to the batter to give it that extra warm fall flavor.
In terms of cooking methods, while these cupcakes bake beautifully in a traditional oven, I’ve also had success using a convection oven set at 325°F, which speeds up baking time slightly and ensures even browning. For those with a microwave-steam combination cooker, individual cupcakes can sometimes be prepared quickly, though I recommend baking the full batch traditionally for the best layered effect.
Storage and Reheating
Storing Leftovers
I store any leftover cupcakes in an airtight container at room temperature for up to two days to keep them fresh and soft. If your kitchen is warm, refrigerating is fine—just make sure they’re well covered to prevent drying out. The frosting holds up nicely, but if refrigerated, allow the cupcakes to come to room temperature before serving for the best texture and flavor.
Freezing
These cupcakes freeze wonderfully either frosted or unfrosted. To freeze, place them on a baking sheet to freeze individually for about an hour, then transfer to a resealable freezer bag or airtight container. This way you avoid having them stick together. They’ll keep beautifully for up to three months. When you’re ready to enjoy, thaw them in the fridge overnight or at room temperature for a few hours.
Reheating
Since cupcakes are best enjoyed fresh, I recommend avoiding microwaving them too long during reheating as it can dry out the cake and melt the frosting overly. Instead, if you want them warm, tent the cupcake with foil and warm gently in a 300°F oven for about 5 minutes. This helps revive softness without compromising the delicate layers or the frosting’s texture.
FAQs
Can I make these cupcakes dairy-free?
Absolutely! Use a dairy-free cake mix and substitute the frosting with a dairy-free version such as coconut or almond milk-based frosting. Just double-check all other ingredients to ensure they meet dairy-free requirements.
Do I have to use gel food coloring?
Gel food coloring is best for this recipe because it delivers vibrant colors without changing the batter’s consistency. Liquid food coloring can thin the batter, so if you only have liquid colors, add them sparingly to avoid impacting texture.
Can I use whole eggs instead of egg whites?
Whole eggs can be used but may slightly alter the whiteness of the cake layers, especially the white portion, making it less bright. Egg whites keep the layers clean and vibrant, which is key to the candy corn look.
Is it necessary to frost the cupcakes immediately?
It’s best to wait for the cupcakes to cool completely before frosting; otherwise, the frosting can melt and slide off. You can also bake the cupcakes in advance and frost them just before serving to maintain freshness.
Can I make these cupcakes ahead of time?
Yes! You can bake the cupcakes a day ahead and store them in an airtight container to keep them moist. Frost them the day you plan to serve for the best taste and presentation.
Conclusion
I hope you can feel my excitement for this Candy Corn Layered Cupcakes Recipe because it’s truly one of my favorite ways to celebrate the season in a sweet and colorful way. Whether you’re baking for a party or a cozy night in, these cupcakes bring joy and plenty of smiles. Give this recipe a try — I promise it will be a delightful addition to your dessert rotation!
PrintCandy Corn Layered Cupcakes Recipe
Candy Corn Layered Cupcakes are a festive, colorful treat perfect for Halloween or fall celebrations. These cupcakes feature distinct layers colored in yellow, orange, and white to resemble candy corn, topped with vanilla frosting and optionally decorated with cute homemade marshmallow ghosts for an extra spooky touch. Using a white cake mix base ensures a moist, tender crumb, while the layered colors make these cupcakes visually striking and fun to serve at any gathering.
- Prep Time: 15 minutes
- Cook Time: 22 minutes
- Total Time: 42 minutes
- Yield: 16 cupcakes
- Category: Dessert
- Method: Baking
- Cuisine: American
Ingredients
Cake Batter
- 1 15.25 ounce box Pillsbury Moist Supreme White Premium Cake Mix
- 1 cup water
- ½ cup vegetable oil
- 4 large egg whites
- Yellow gel food coloring
- Orange gel food coloring
- White food coloring (optional)
Frosting
- 1 16 ounce tub white or vanilla frosting (or 2 cups homemade frosting)
Decoration (Optional)
- 16 Homemade Marshmallow Ghosts
Instructions
- Preheat and Prepare Pans: Preheat your oven to 350°F (175°C). Line 16 wells of a standard muffin pan with paper cupcake liners to prevent sticking and make removal easy.
- Mix Cake Batter: Prepare the white cake mix according to the package directions by combining the cake mix with water, vegetable oil, and egg whites. Mix just until smooth and all ingredients are combined, being careful not to overmix.
- Divide Batter: Split the batter into three separate bowls. Place 40% of the batter into the first bowl, another 40% into the second bowl, and the remaining 20% into the third bowl.
- Color Batter: Add yellow gel food coloring to one of the larger batter portions and stir well to achieve an even color. Add orange gel food coloring to the other large portion and mix evenly. Leave the smallest portion plain white. If the white cake mix has a yellow tint, add a few drops of white food coloring to brighten it.
- Layer Batter in Liners: Spoon the yellow batter evenly into the 16 cupcake liners, filling about one-third. Then gently spoon the orange batter over the yellow layer in each liner. Finally, add the white batter on top, filling the liners approximately two-thirds full altogether.
- Bake Cupcakes: Bake in the preheated oven for 18 to 22 minutes, or until a toothpick inserted into the center comes out clean or with just a few moist crumbs, and the tops spring back when lightly touched.
- Cool Cupcakes: Let the cupcakes cool in the pans for 5 minutes. Then transfer them to a wire rack to cool completely before frosting to prevent the frosting from melting.
- Frost Cupcakes: Transfer the white or vanilla frosting to a piping bag fitted with a large tip. Pipe a low swirl of frosting onto each cooled cupcake for a smooth, attractive finish.
- Add Decorations (Optional): If using, gently press one homemade marshmallow ghost into the center of the frosting on each cupcake to add a festive, whimsical touch.
Notes
- Use gel food coloring to achieve vibrant colors without thinning the batter.
- Allow cupcakes to cool completely before frosting to avoid melting the frosting.
- You can substitute store-bought frosting with your favorite homemade vanilla frosting.
- Marshmallow ghosts can be made ahead of time and stored in an airtight container.
- For a stronger white layer, use white food coloring if your cake batter has a yellowish tint.




Leave a Reply